Simple. Natural. Effective
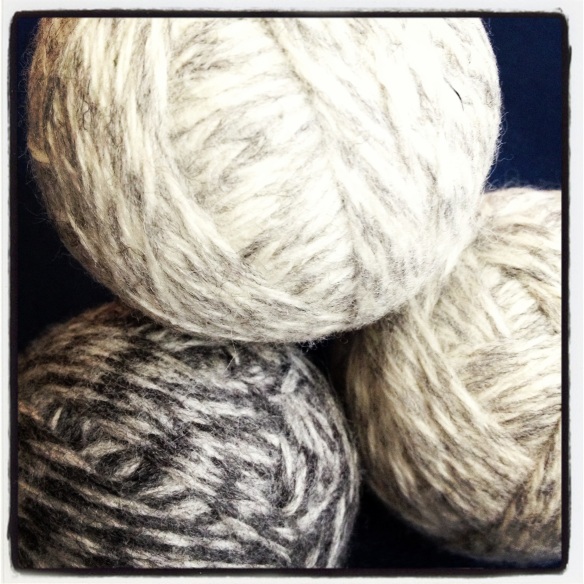
As soon as I came across these balls I knew I had to have them!!! Like so many awesome things, I found them on pinterest. Like etsy, I LOVE pinterest. Others loath it. No biggy.
I drip a few drops of my fav essential oils onto each ball and I use 4 balls all at once I’ve NEVER bought dryer sheets. When I left home mid 20’s it never crossed my mind to ever buy them. Now in my early 30’s I’m glad I didn’t waste my money or health on dryer sheets. They contain awful, synthetic chemicals and call them “mountain fresh”. I love the mountains and I can tell you first hand they do not smell the way dryer sheets claim. Using wool dryer balls, with or without essential oils, is a safe, effective and economical way to dry clothes.
PILLING ALERT ** I would NOT recommend using them with any materials such as Nikes DryFIit, Adidas ClimaCool, Lululemon Luon etc. The wool balls will cause pilling!
Benefits of using wool dryer balls.
– wool is a natural material containing no harsh synthetic chemicals
– shortens the drying time of your laundry by helping to separate the clothes.
– uses less electricity and saves you money
What you’ll need
– R-E-A-L wool (not a wool blended with any other material like cotton or acrylic)
***it must be real 100% wool for the balls to felt properly
***be sure the wool is not super wash wool
What you’ll do
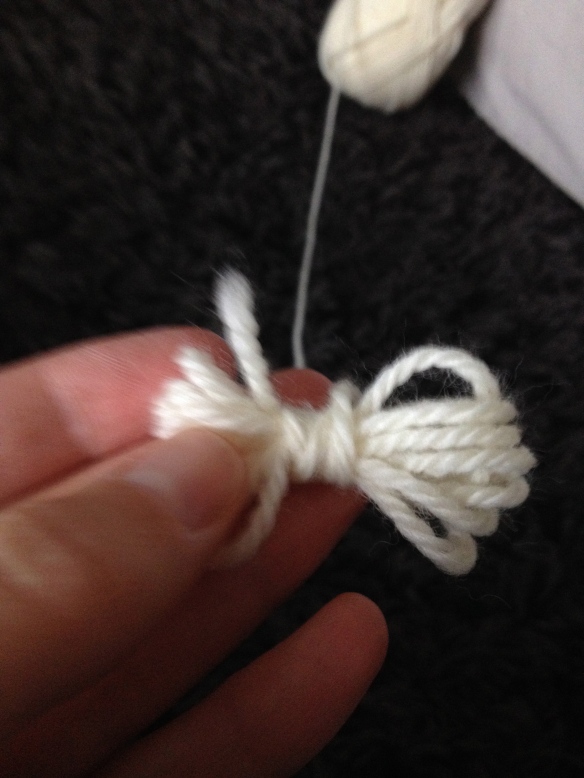
– start by wrapping the wool around 3 fingers about 8-10 times.
– remove the wool and wrap the centre about 6-8 times.
– carefully begin wrapping the wool around its self to begin creating a small ball. I prefer to wrap the wool one direction about 5 times and then slightly change the direction and repeat. It’s important to wrap the ball with some tension. Too loose of wool could result in slight unraveling of the outer layer of your final dryer ball.
– secure the end of your wool by threading it through a tapestry needle and pushing it into the centre of your ball.
– i prefer to make the ball 10.5 inches in diameter BEFORE I felt it.
Remember the wool will shrink (aka felt) so that 10.5 inches will be much smaller once washed & dryer HOT!
Felting happens when the wool is washed in HOT soapy water and dried in HOT. This shrinks the wool, causing the wool fibers to cling together.
– place the ball in a stocking/pantyhose & tie a knot, add the next ball, tie another knot and repeat. You should be able to fit 4-5 balls per stocking leg.
– throw the wool ball/pantyhose combo into your regular wash . Agitation is important so try washing the balls with jeans and try to avoid washing them with items like towels. Once the wash is done toss them into the dryer, while still in the pantyhose and with your clothes.
– after the dryer is done, simply untie each knot in the pantyhose and admire your new wool dryer ball!
*** If the ball looks like its unraveled a bit not to worry. I simply wrap the ball a few more times with new wool and repeat the HOT water wash & dry like before. I get some unraveling about 20% of the time. It just means I didn’t wrap the outer layer of wool tight enough.
Don’t feel like making your own?? These will be for sale on my etsy site shortly I’ll share the link once its up!
Best,
Julie


